Importing a Certificate Into A Windows Server
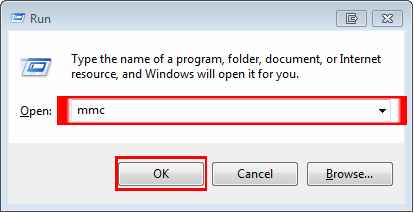
Open MMC (Start > Run > MMC) Click ‘OK.’

Click ‘File.’ Select ‘Add/Remove Snap-in.’
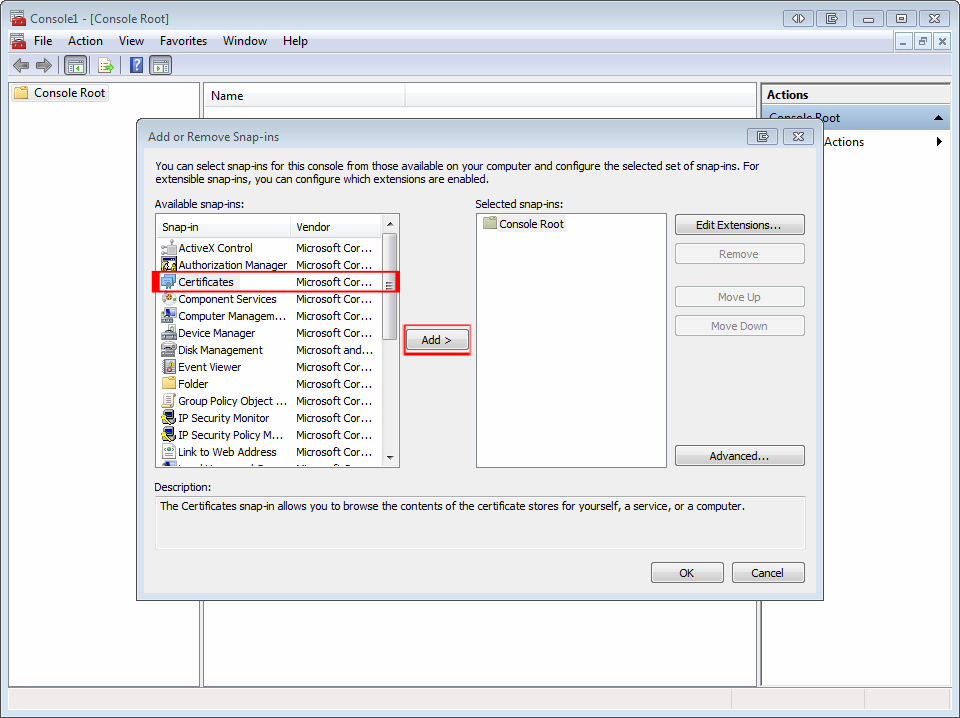
Select ‘Certificates,’ and then click the ‘Add’ button.
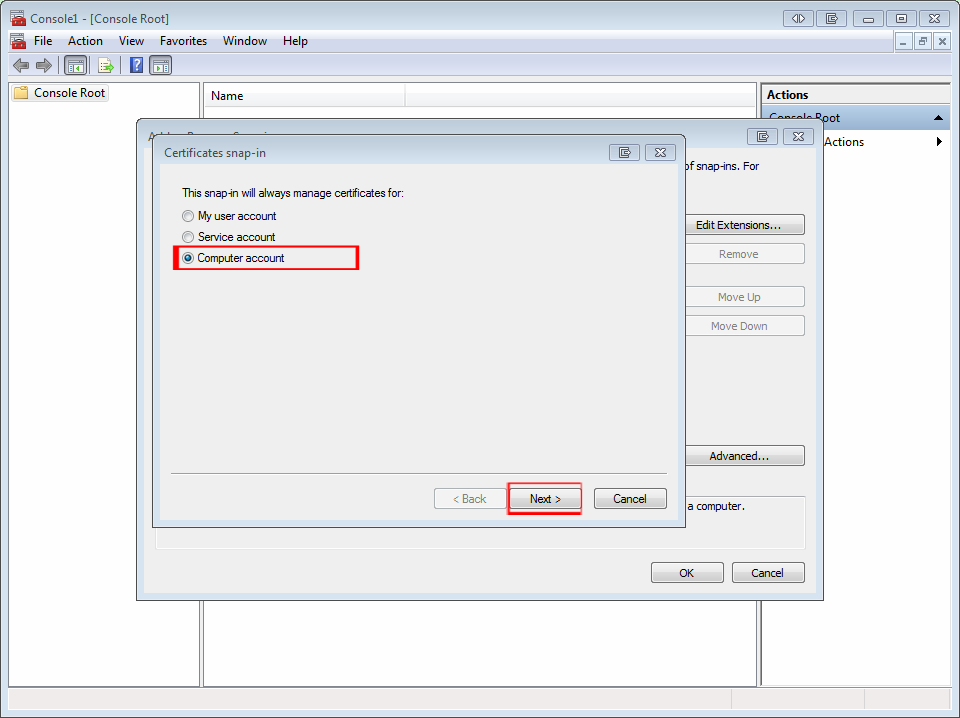
Select ‘Computer account,’ then hit the ‘Next’ button.
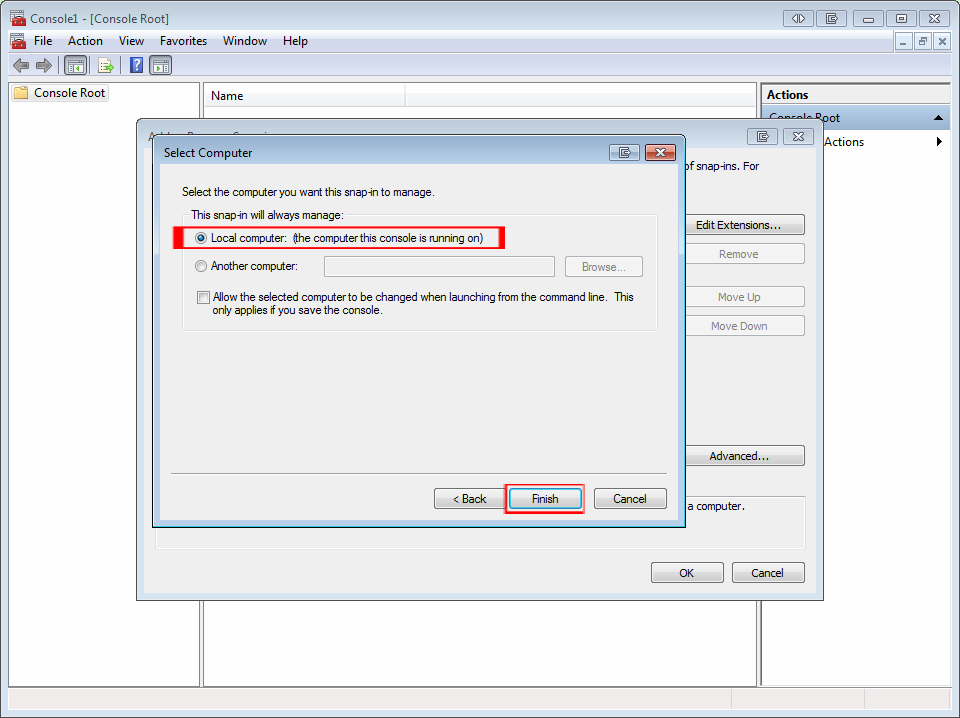
Select ‘Local Computer,’ then ‘Finish.’
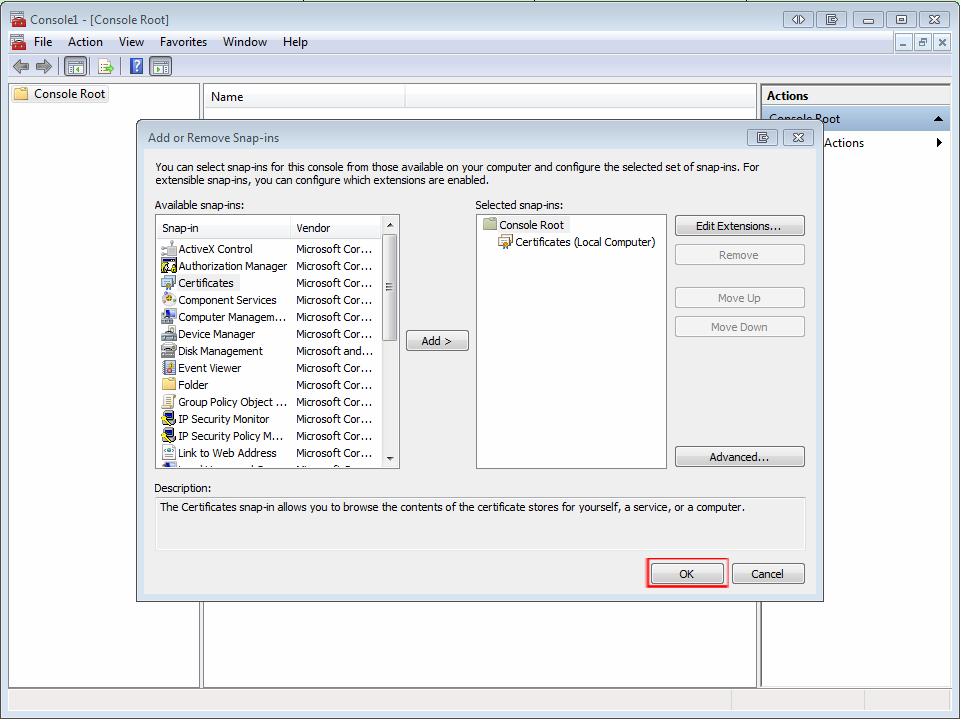
Click ‘OK.’
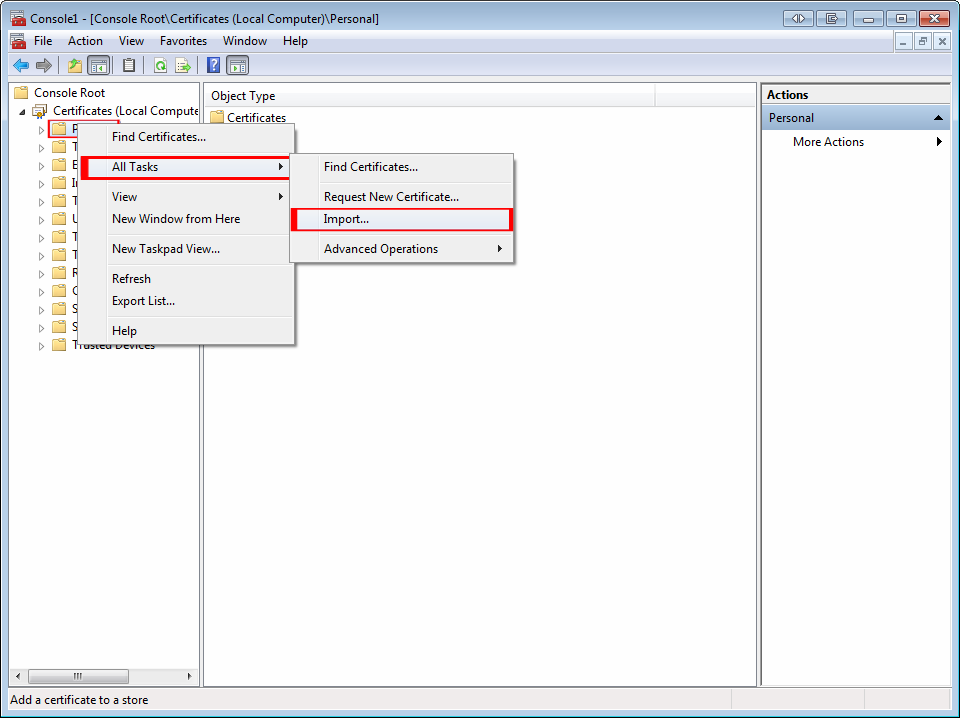
Right click the ‘Personal’ store from the Console Root on the left, select the ‘All Tasks’ option, and click ‘Import.’
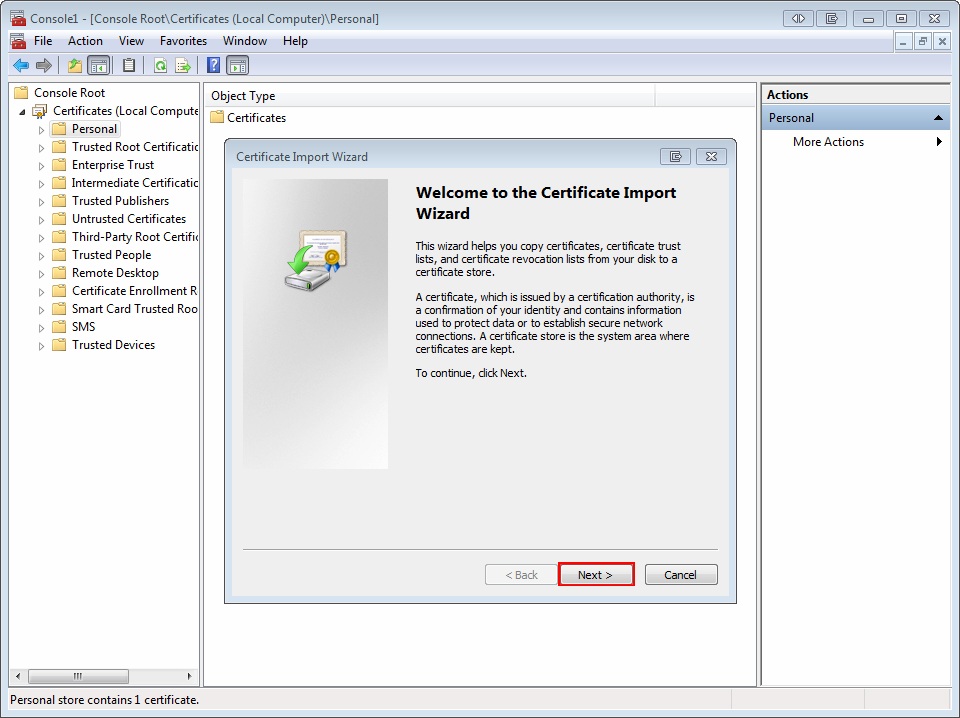
Hit ‘Next’ on the Certificate Import Wizard screen.
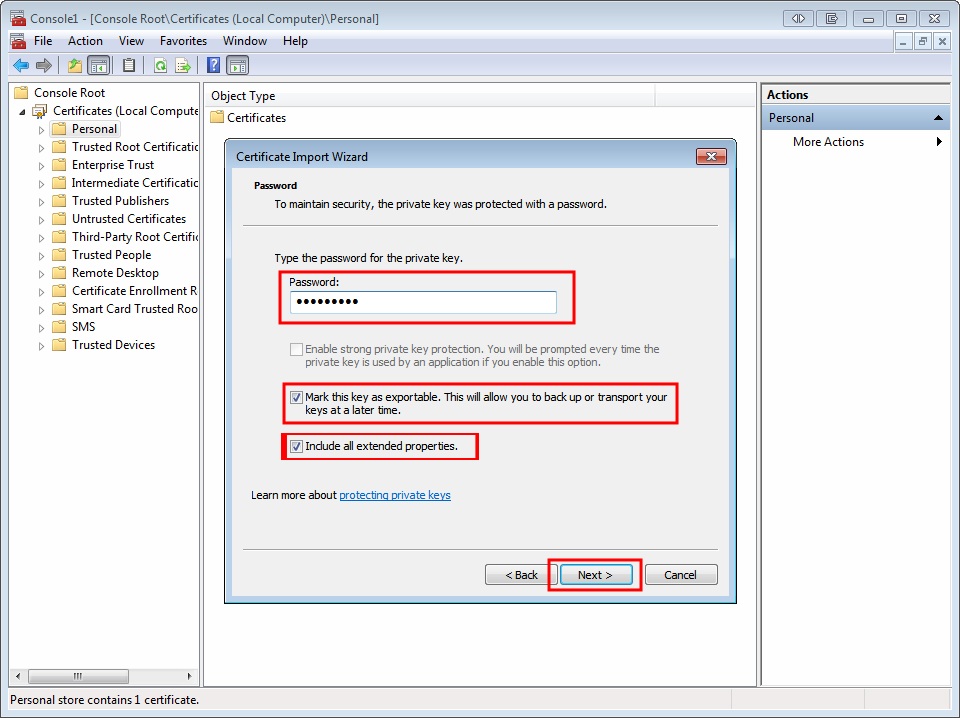
Enter the password you created for the export file, check both the boxes for ‘Mark the key as exportable…’ and ‘Include all extended properties.’ and then click ‘Next.’
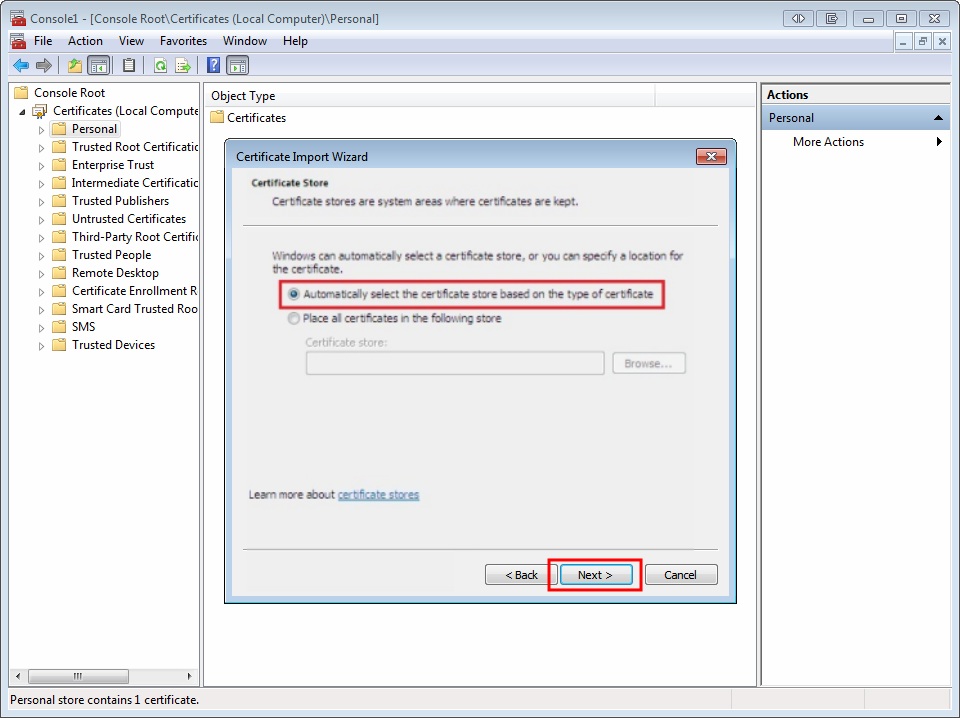
Select to ‘Automatically select the certificate store based on the type of certificate,’ and click ‘Next.’
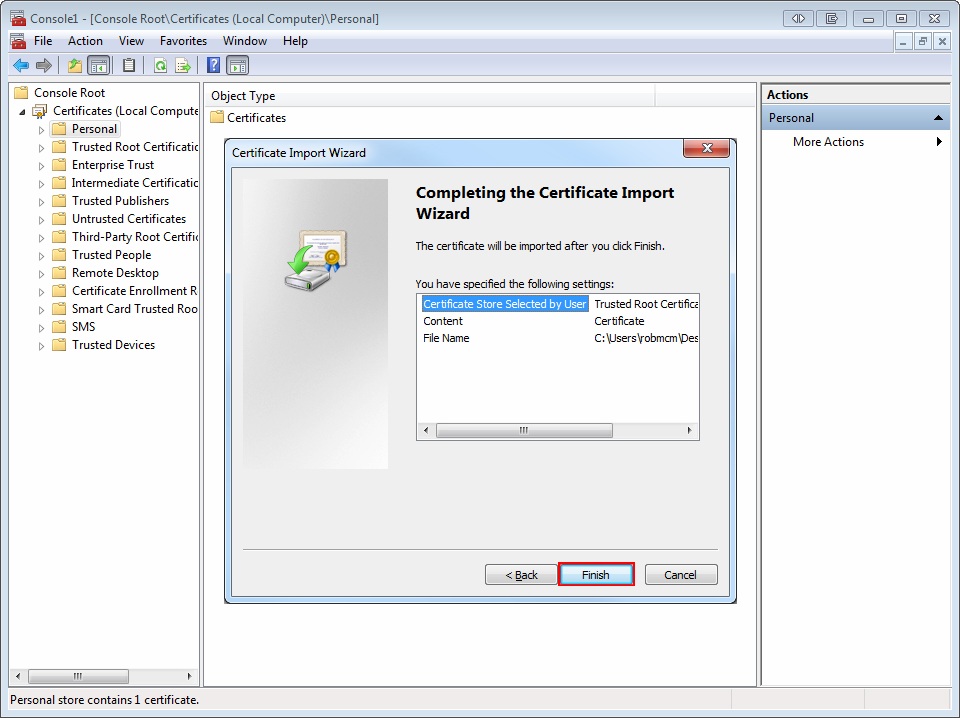
Verify the details listed, and click ‘Finish,’ complete the import