Installing an SSL in Microsoft Azure Portal
So this ‘installation’ seems to be a real process that requires a traditional CSR generation and installation on a server that serves as the ‘workhorse’ for the installation. It then requires a PFX export and then taking that PFX export from your Windows server and importing into the Microsoft Azure portal. I know. Kindof a pain. Don’t worry though, you just have to take this one the same way you eat an elephant: one bite at a time!
For the sake of brevity, we won’t duplicate content on this page because we’ve really put all these guides up on different pages, but here are the steps, in order, assuming that you are using IIS7 on your ‘workhorse’ server (Azure is obviously hosted on it’s own, you don’t create the CSR from it’s interface directly).
Step 1: Create a CSR off your ‘Workhorse’ server.
Step 2: Key your certificate with your SSL provider and get your files downloaded and back to that ‘Workhorse’ server.
Step 3: Install your cert on your ‘Workhorse’ server.
Step 4: Export your certificate to a PXF file from your ‘Workhorse’ server.
Step 5: Import your PFX file (which contains all the certificate data and your Private Key) into your Azure Portal.
Azure Import pt. I
1. Log in and open your Windows Azure Management Portal.
2. Go to the ‘web sites’ tab and select your website from under ‘NAME’
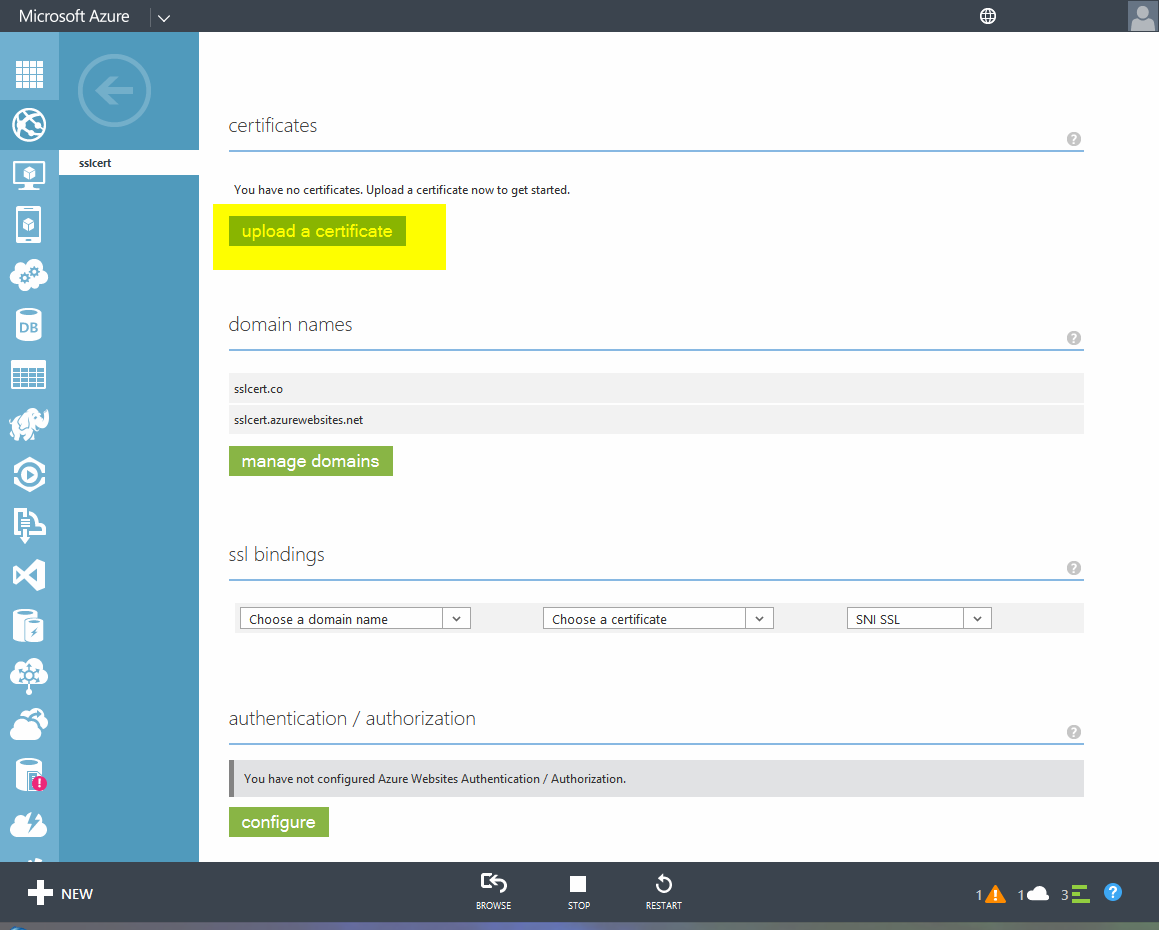
3. Click ‘CONFIGURE’ on your website page
4. Click ‘upload a certificate’ from the ‘certificates’ section under ‘SUBJECT’
Azure Import pt. II
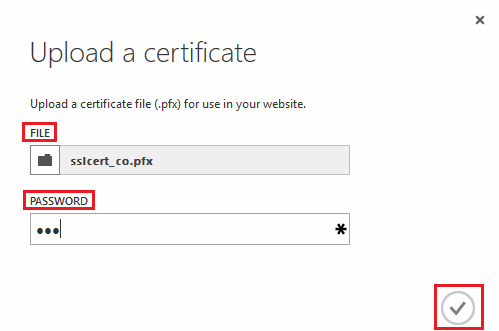
1. Click ‘BROWSE FOR FILE’ on the ‘Upload a certificate’ window under the ‘FILE’ field. Browse to, and select, your PFX file
2. Enter the password you created for the PFX file when you exported into the ‘PASSWORD’ field
3. Click the Checkmark button to upload the certificate
Azure Import pt. III

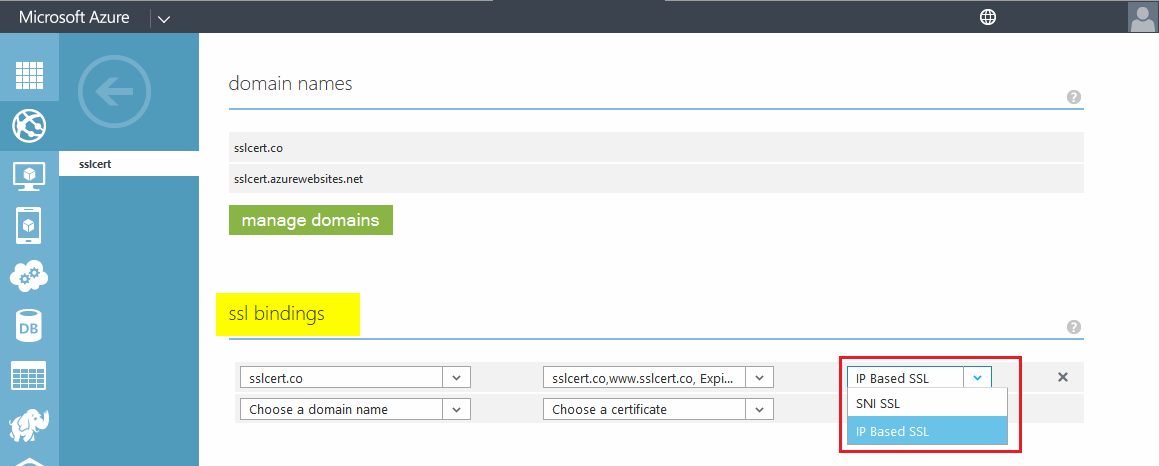
1. On the ‘CONFIGURE’ tab, under ‘ssl bindings,’ in the ‘Choose a domain name’ drop-down list, select the domain name that you want to secure with SSL
2. In the ‘Choose a certificate’ drop-down list, select the SSL Certificate that you want to use to secure your website
3. In the final drop down list, select your preferred method of SSL configuration
Azure Import pt. IV
You should now be able to click ‘Save’ to finish the install and allow your website to accept secure connections!
**Special Notes**
IP based SSL and Custom Domain Configured Using an A Record
If you selected IP SSL, and you used an A record to configure your custom domain name, you need to complete these additional steps.
- Locate the dedicated IP address assigned to your website.
After you used IP based SSL binding to configure SSL for your website, a dedicated IP address was assigned to your website. You can see this IP address, on the Dashboard page of your website, in the quick glance section, under VIRTUAL IP ADDRESS.
This IP address is different from the virtual IP address that was used to configure the A record for you domain.
- Modify the A record for your custom domain name to point to this IP address.
Use the tools provided by your domain name registrar to make this modification.
Verifying Your Certificate is Configured Correctly
To verify that you correctly configure the SSL Certificate, use https to visit your website.