Generating a CSR in Microsoft Exchange 2013
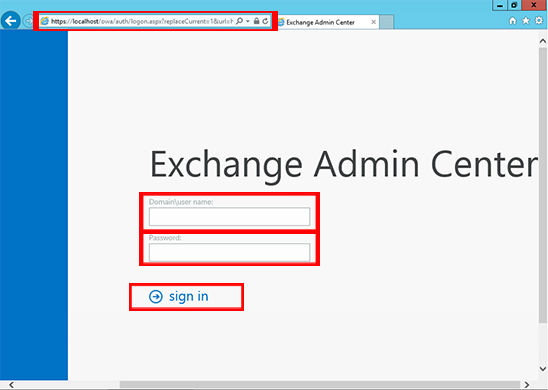
Access the Exchange Admin Center by opening a browser and typing ‘https://localhost/ecp’ and use Domain\user name with password to log in.
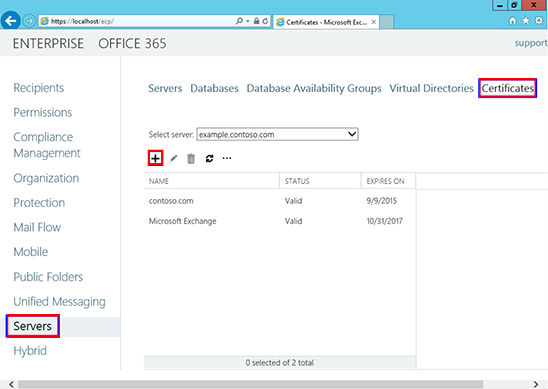
Click ‘Servers’ from the lefthand column, then ‘Certificates’ in the top right, then the ‘+’ symbol.
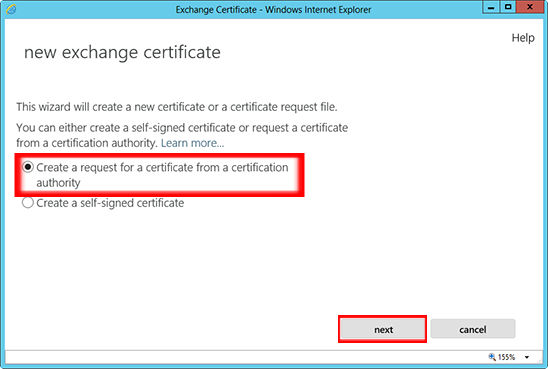
Choose ‘Create a request for a certificate from a certification authority’ from the ‘New Exchange Certificate’ wizard window.
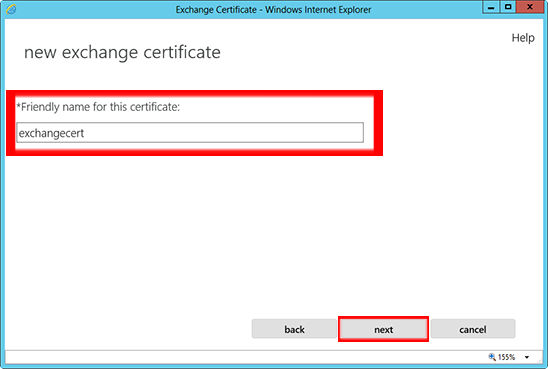
Add the friendly name for the certificate. This is not crucial in how you name it.
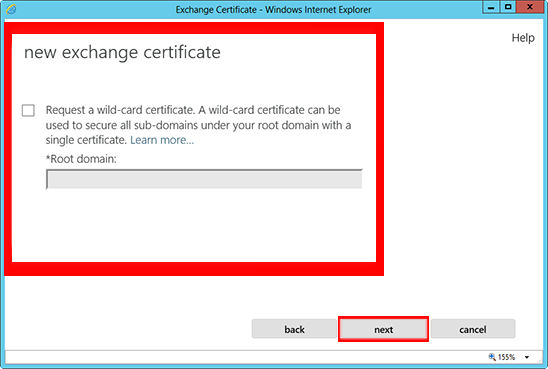
Only do this step if you are getting a Wildcard Certificate. If not, skip this step.
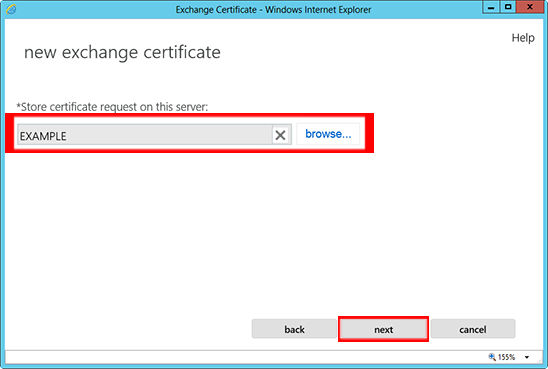
Browse to where you want to store the CSR when saved.
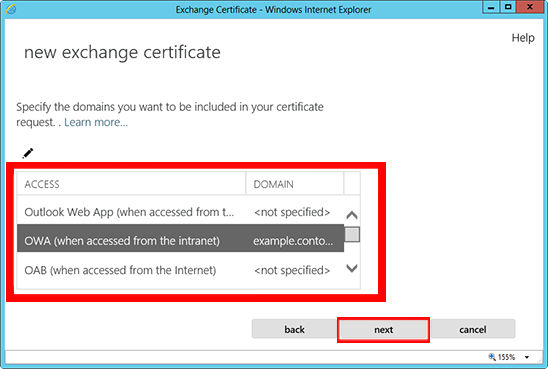
If you are doing a wildcard cert, you will skip this step. From the list, select the services which you plan on running securely by using Ctrl+Click to highlight the services.
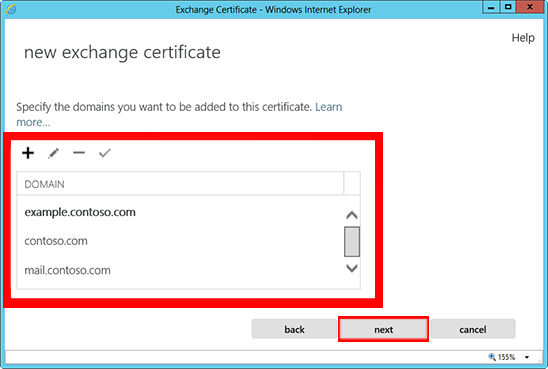
At the next screen, you will be able to review a list of the names which Exchange 2013 suggests you include in your certificate request.
—Review those names and add any extra names by using the + button.
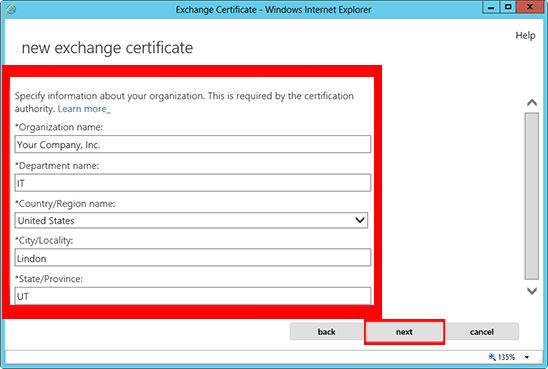
Your Organization name should be the full legal name of your company.
—Your Department name is your department within the organization.
—If you do not have a state/province, enter the city information again.
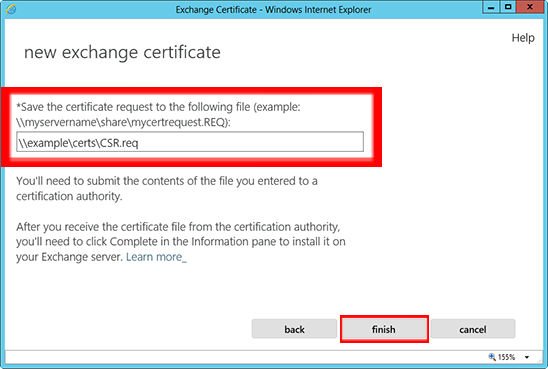
Enter a network share path to save the CSR to your computer as a .req file, then Finish. You should now be able to open the CSR with notepad or wordpad, and you will want to copy the entire body of that file into the online order process.

